A Few Favorite Moments From My Pregnancy
/
This is such a special time, being pregnant with our first child. There are so many little moments I cherish and want to always remember. Spent some time reflecting on some of my favorite moments from my pregnancy, and thought I’d share them here with you.
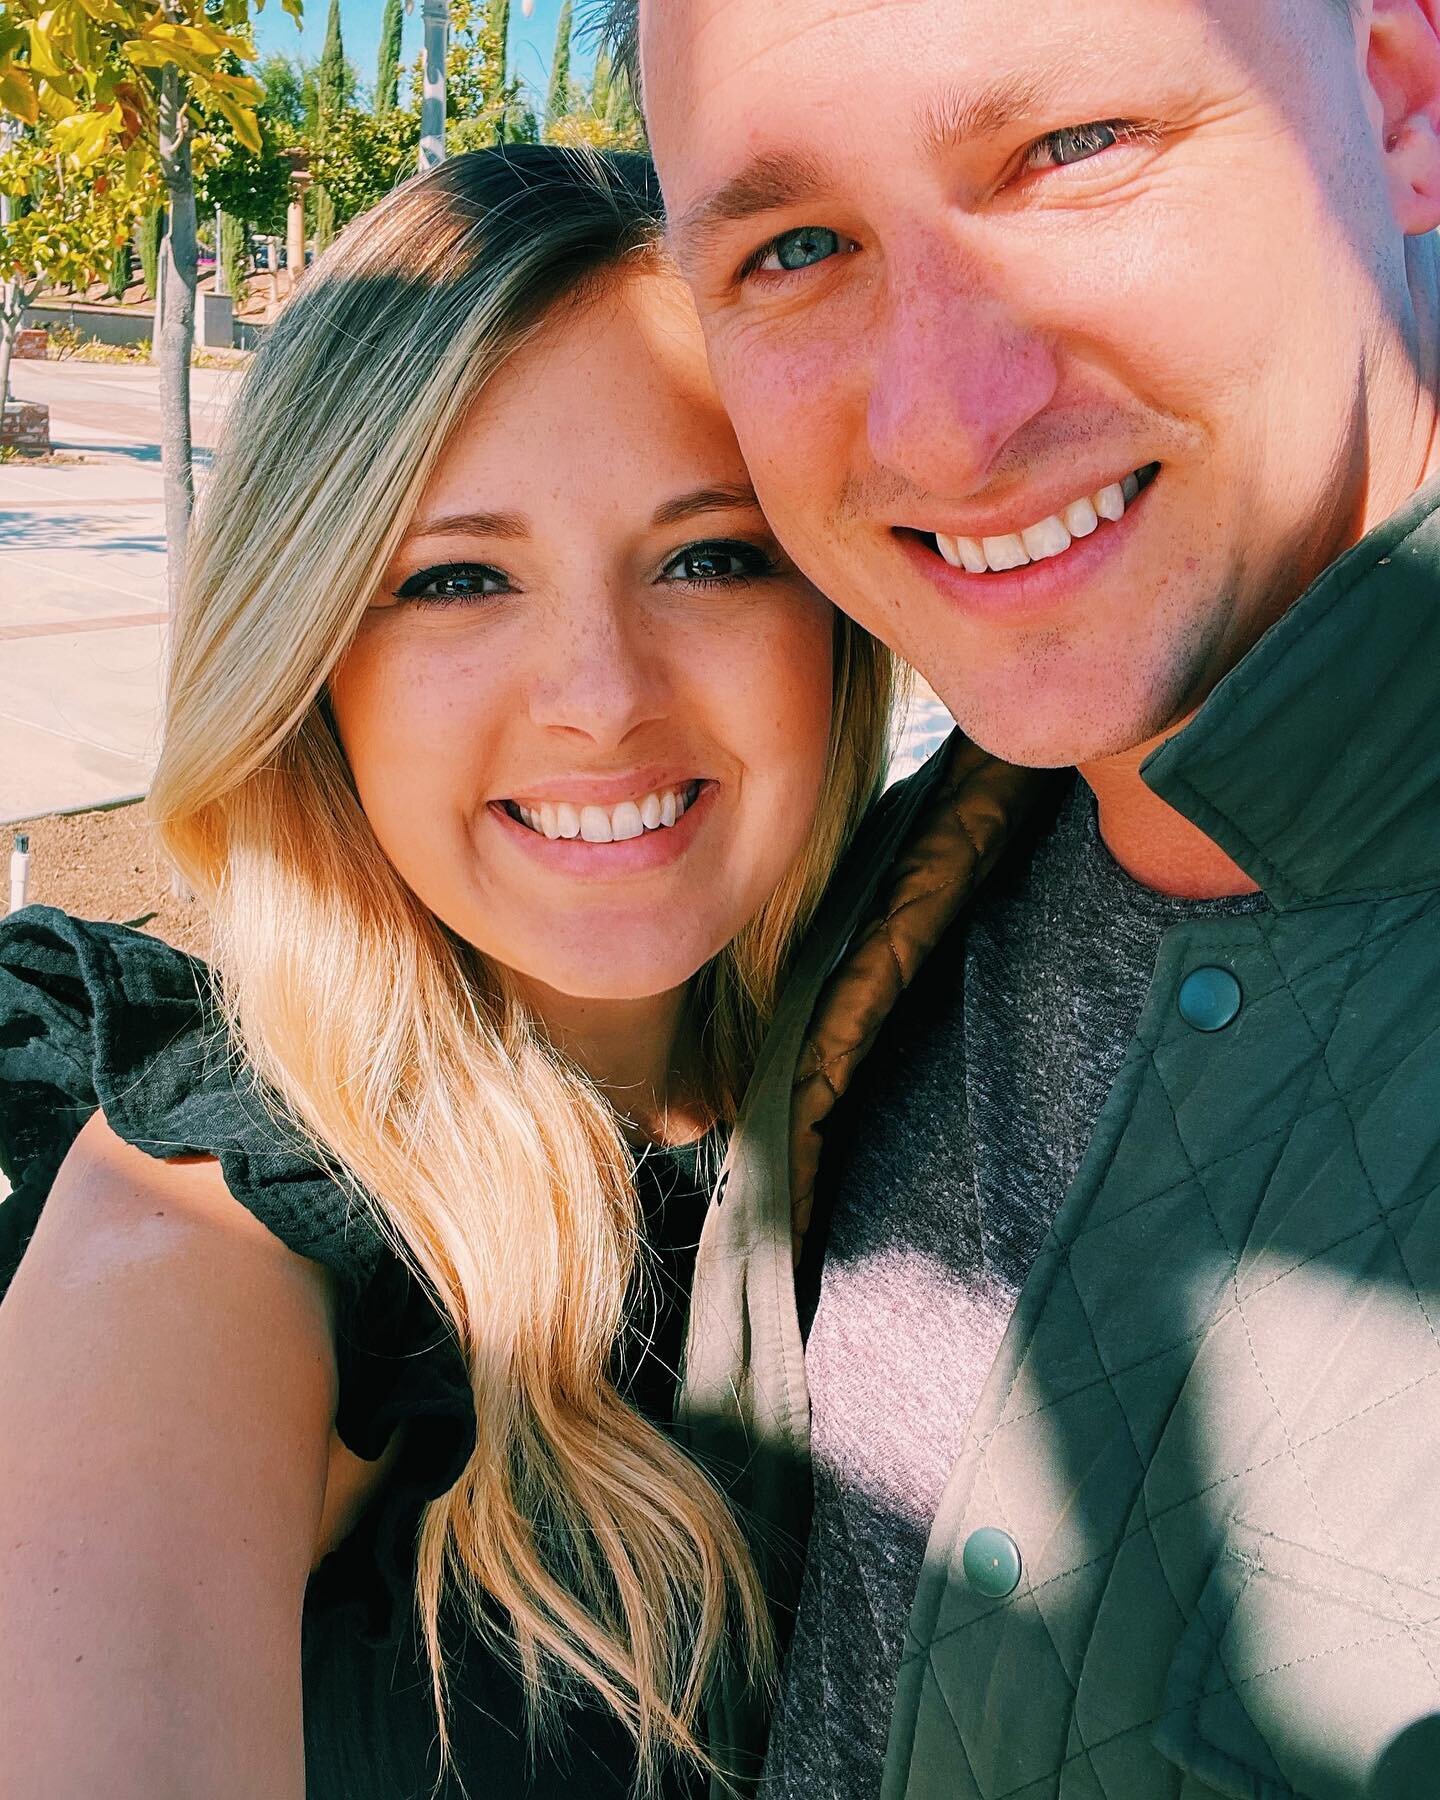
When I first came to Ryan, all giddy, and told him “I think I might be pregnant!” We were both afraid to get too excited yet, but we were nonetheless.
When we went to our first doctors appointment/ultrasound, and heard the baby’s heartbeat for the first time. It finally sank in “this is really happening!”
When we went to our gender reveal ultrasound and found out it was a girl. Ryan totally guessed it right from the start!
When I felt her kick for the first time, in the middle of the night. I could barely fall back to sleep because I kept waiting to see if I’d feel it again.
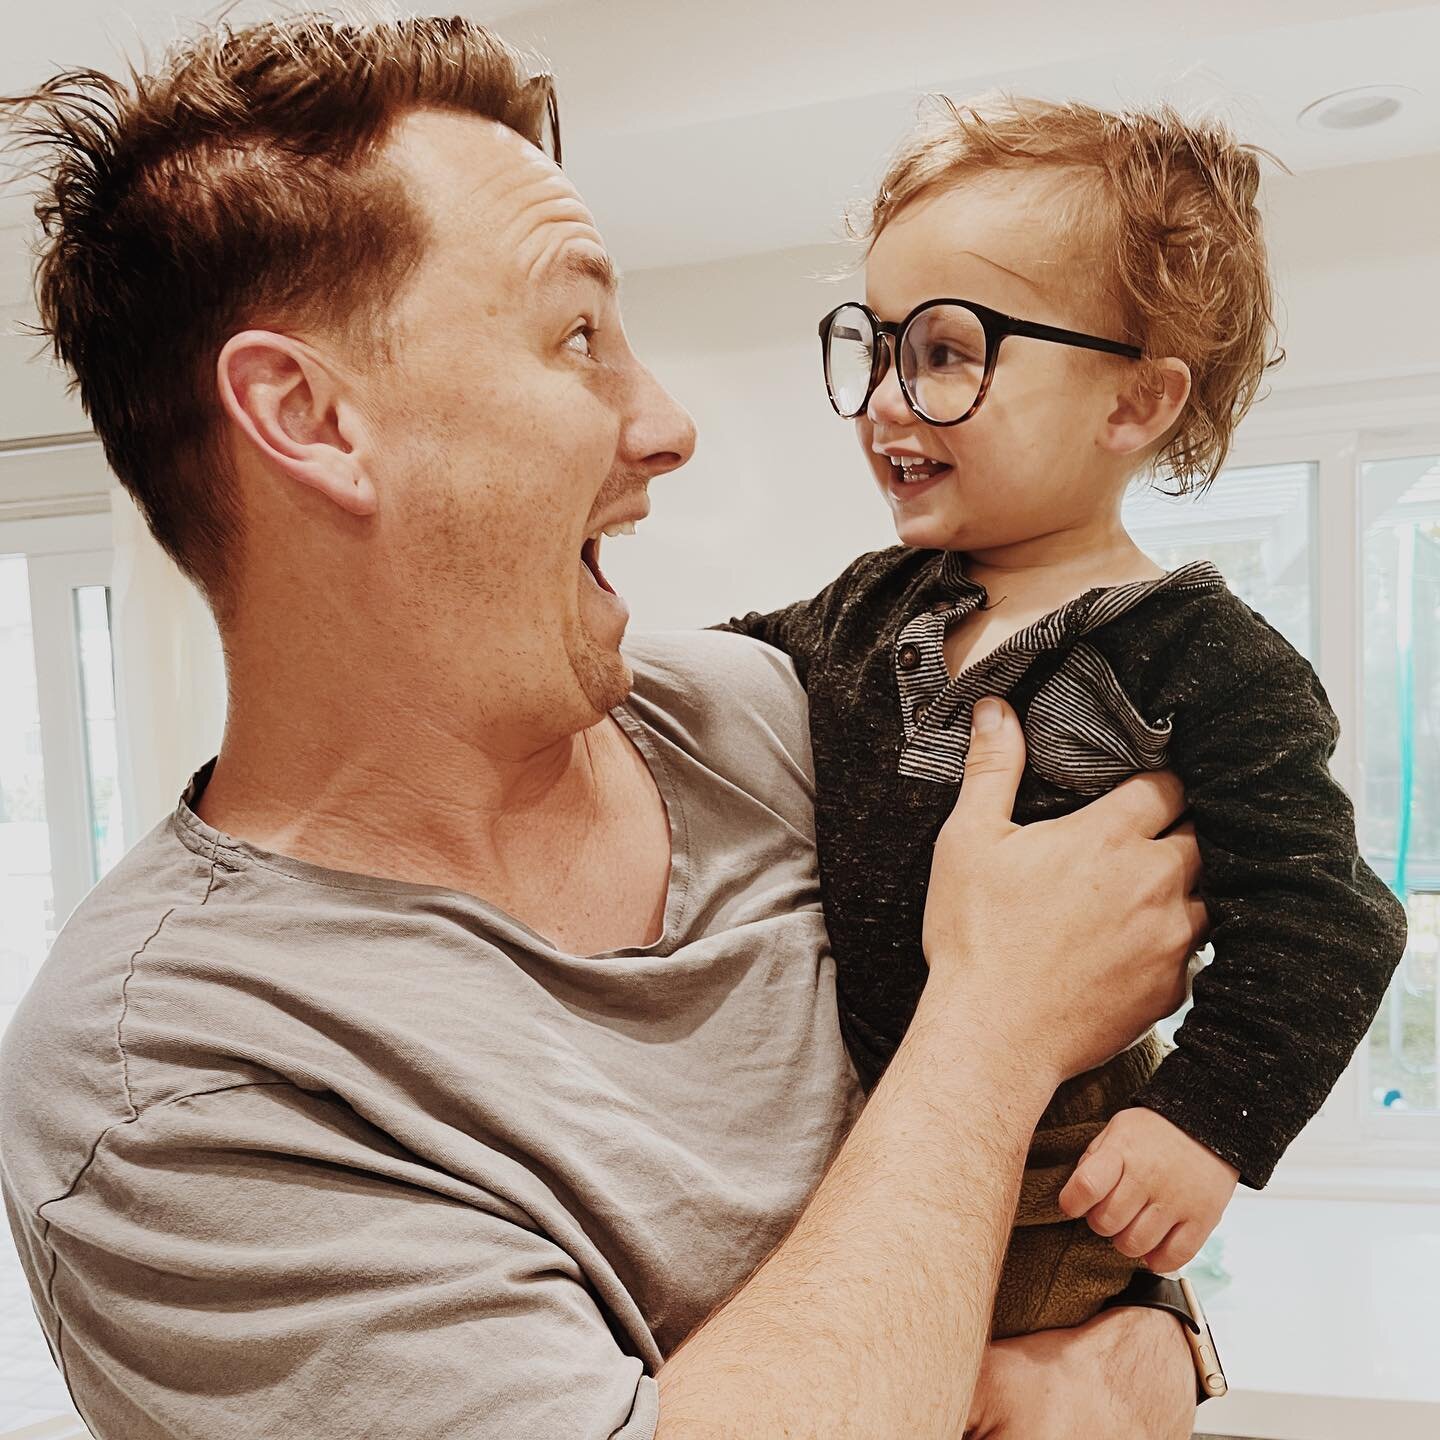
When Ryan felt her kick for the first time, and couldn’t believe it. His face & reaction were priceless.
Nesting and getting her room together. I love being in that room and seeing her sweet little baby things.
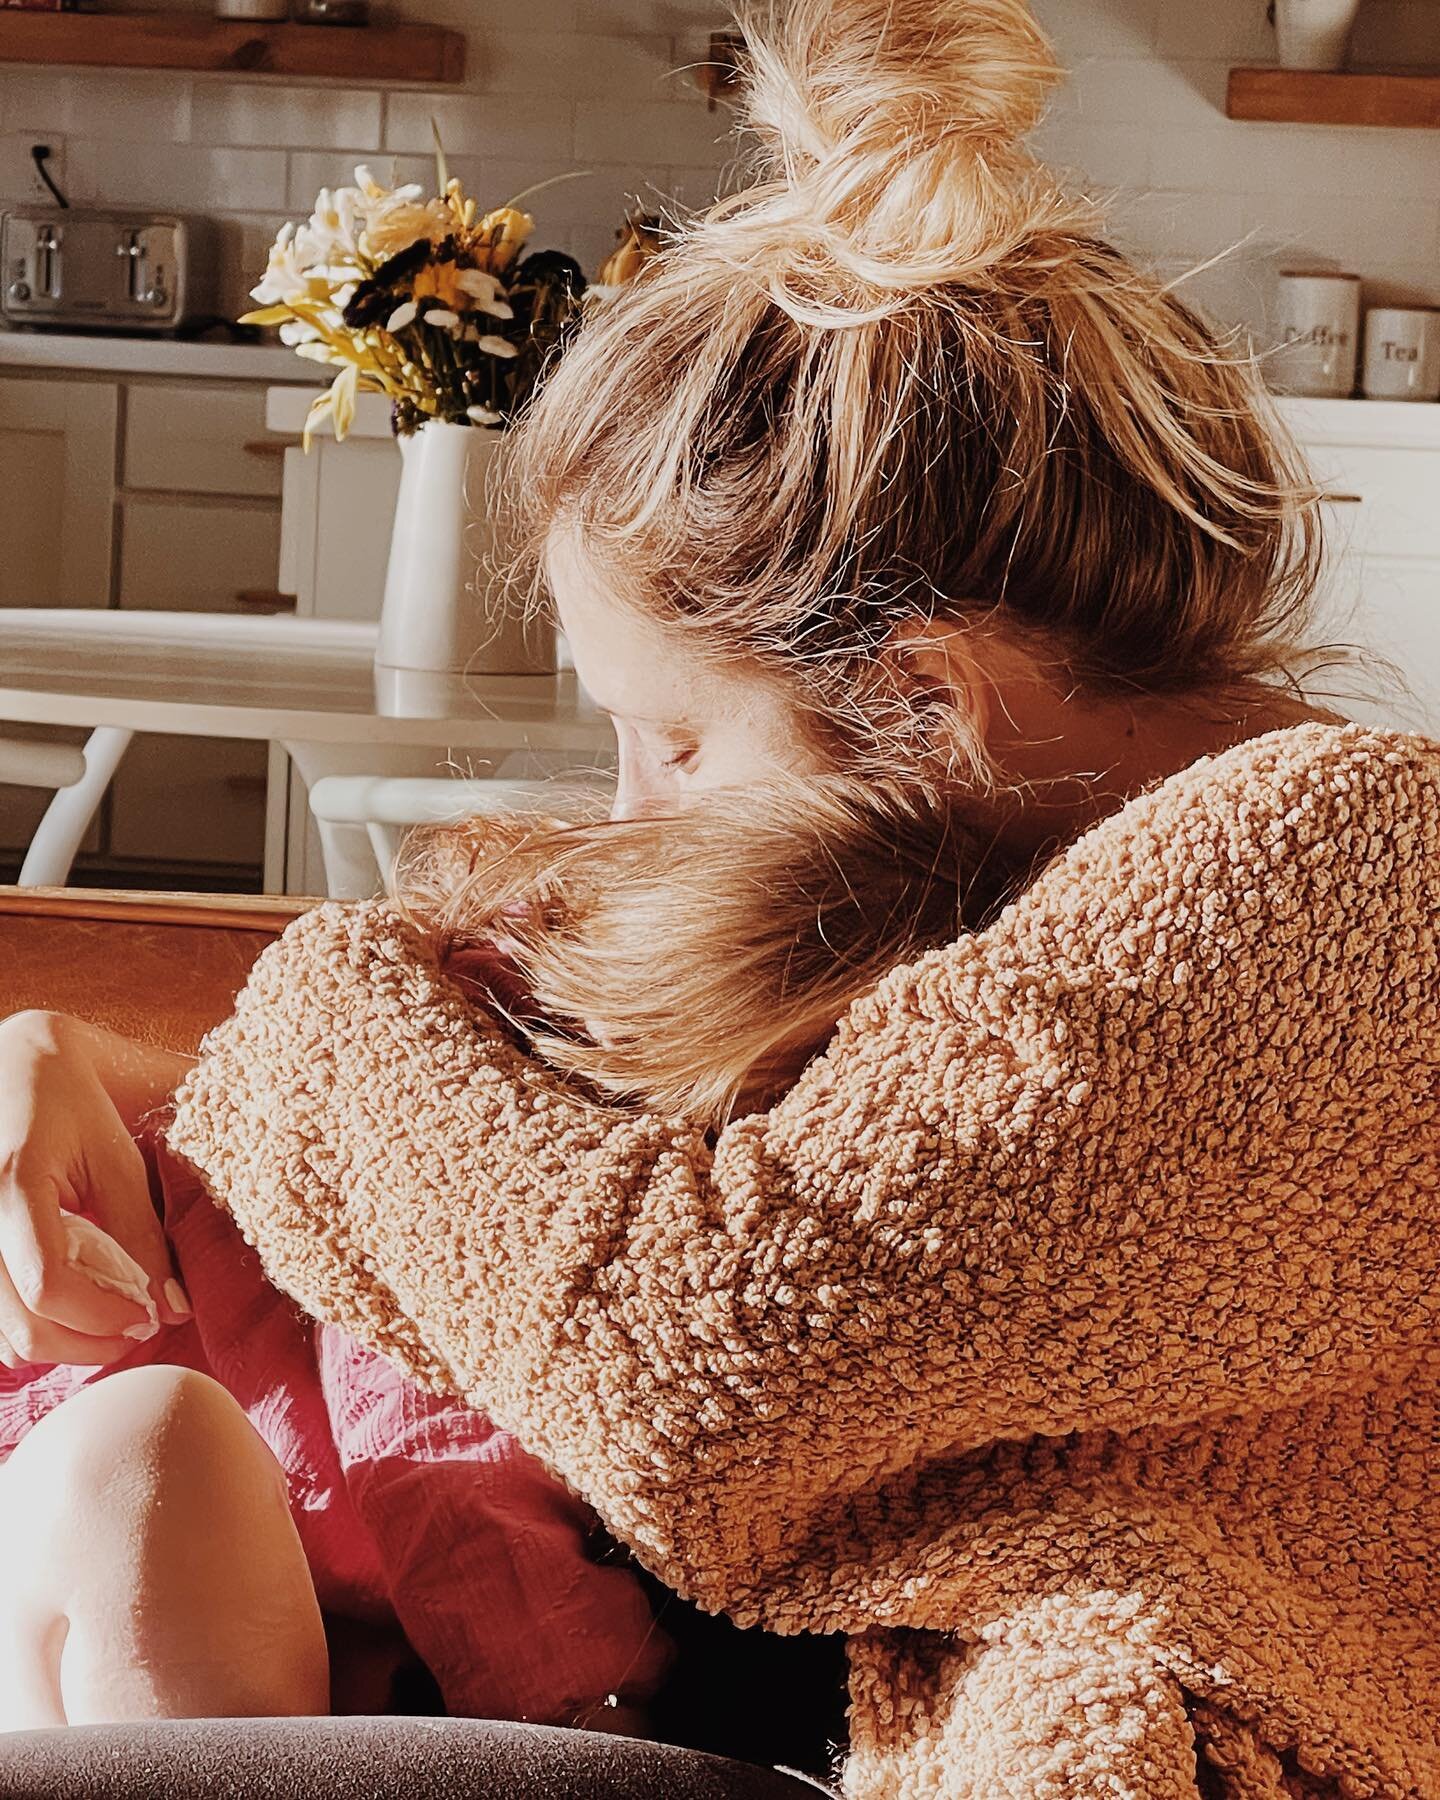
Laying in bed late at night with Ryan watching her move around and seeing such big movements in my tummy.
Snuggling up together and reading our pregnancy & parenting books.
I’m sure there will be many more over these last several weeks. Sure can’t wait to meet & hold this sweet babe of ours. ♥